Quick Start
Build one mapping start to finish — an HL7 v2 admit message to a FHIR Patient resource — and see how the Tree, Table, and Liquid views stay in sync with a live output preview.
This walkthrough builds one mapping start to finish: a synthetic HL7 v2 admit
message (ADT^A01) transformed into a FHIR R4 Patient
resource. It's the fastest way to see how the three views — Tree, Table, and
Liquid — stay in sync as you work, and how a live preview shows you the exact
output before you save anything.
The three panes
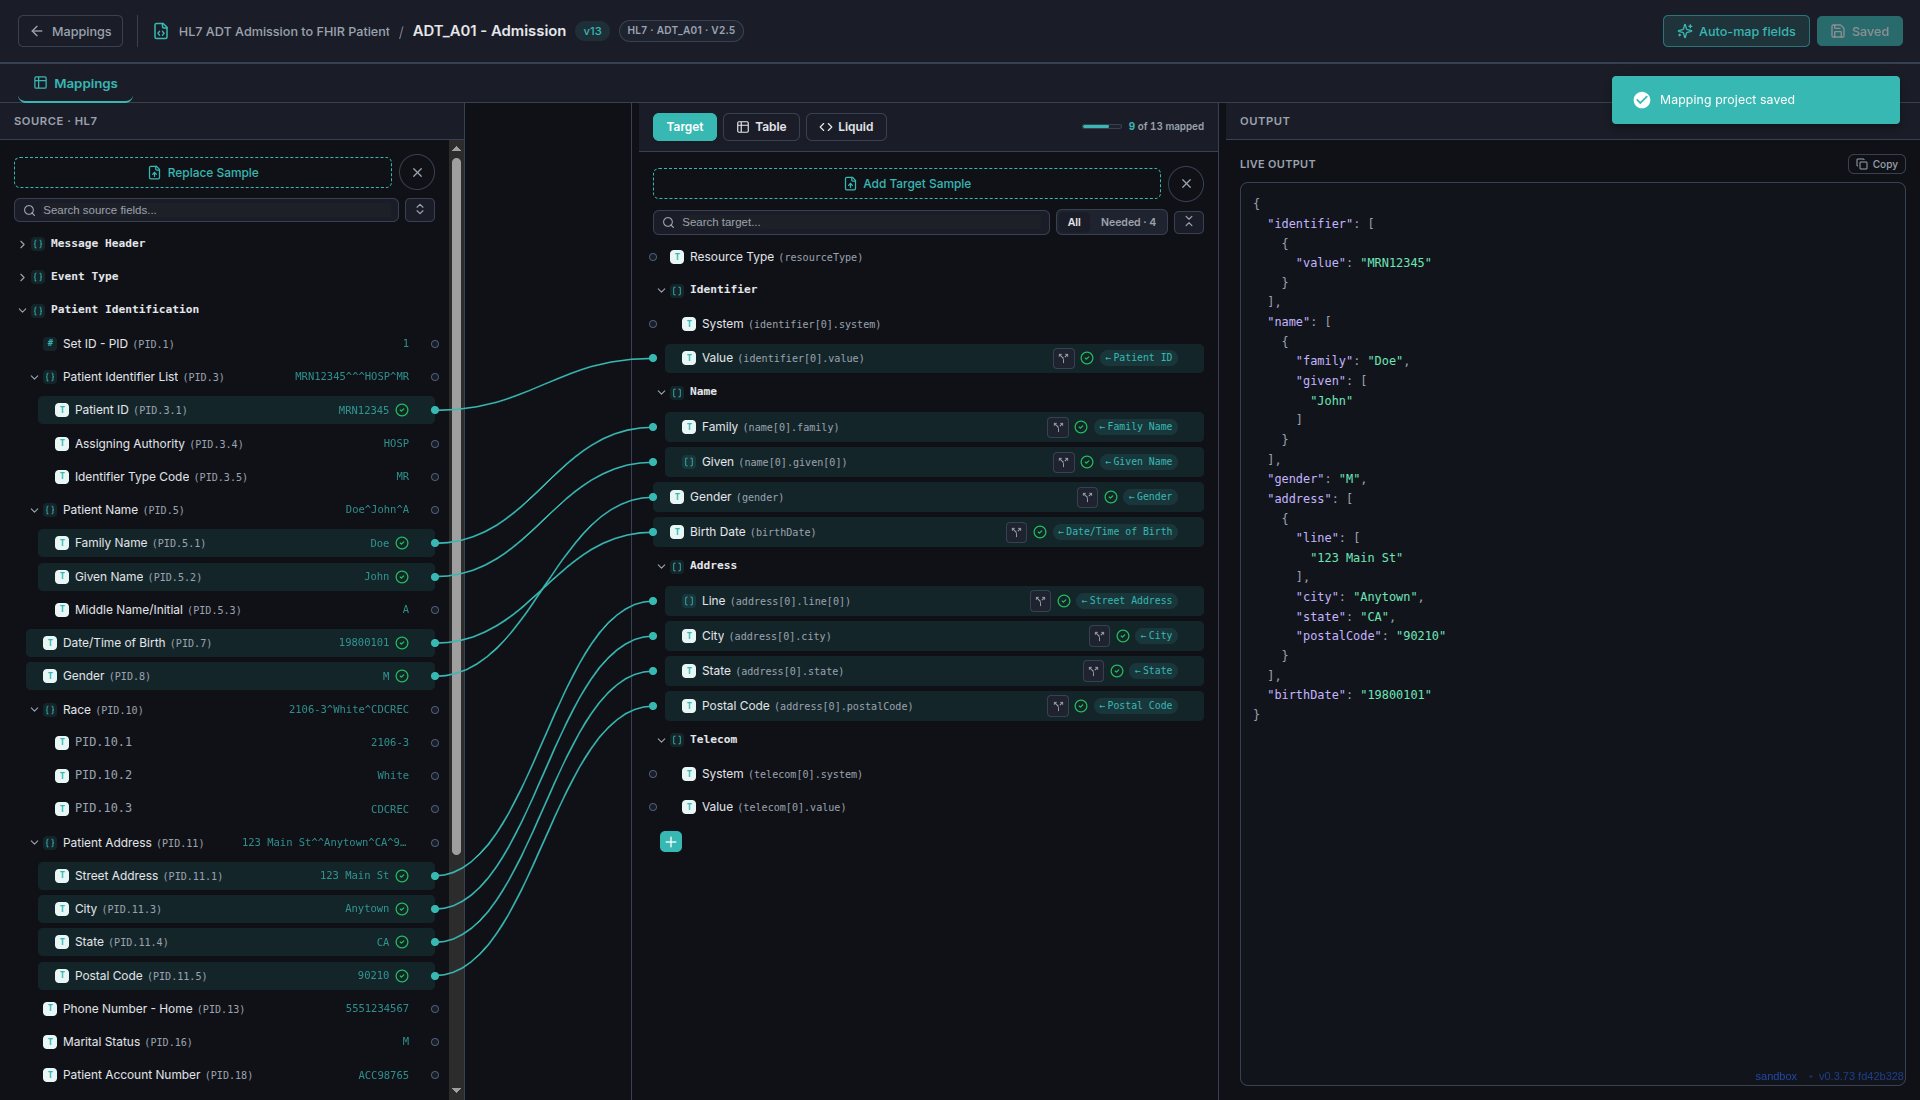
Every mapping project opens to the same three-pane layout: Source on the left (the fields available in your input message), Target in the middle (the fields your output shape needs), and Output on the right (a live, continuously-updating preview of what your mapping actually produces). Wires drawn between Source and Target are what define the mapping — there's no separate "compile" step to remember.
Wiring a field
To connect a field, drag from a source field's connection point to a target field's connection point (or click one, then the other) — the wire draws in real time as you move, and drops onto whichever field you release over:
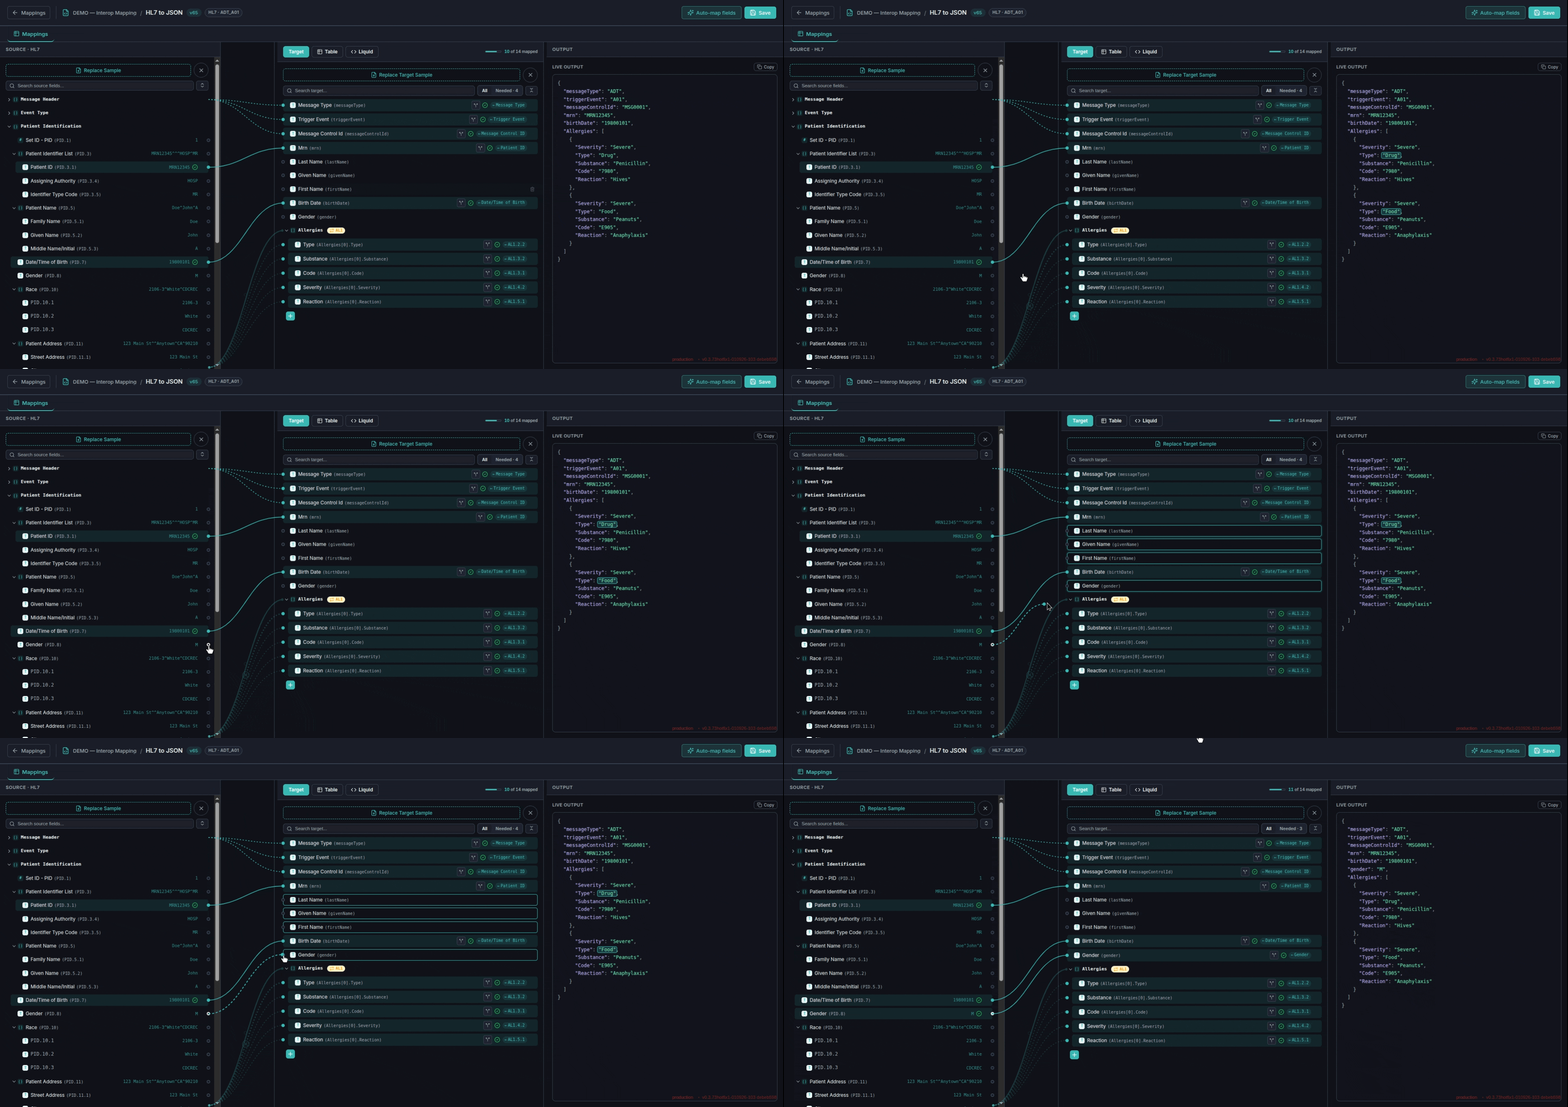
Here's that same gesture applied to this walkthrough's own fields — the HL7
PID.5.1 and PID.5.2 positions, the patient's family and
given name, wired to the FHIR name[0].family and
name[0].given[0] fields:

A target field can also carry a filter — a small transform applied to the value in flight. This template uppercases the family name on the way through:
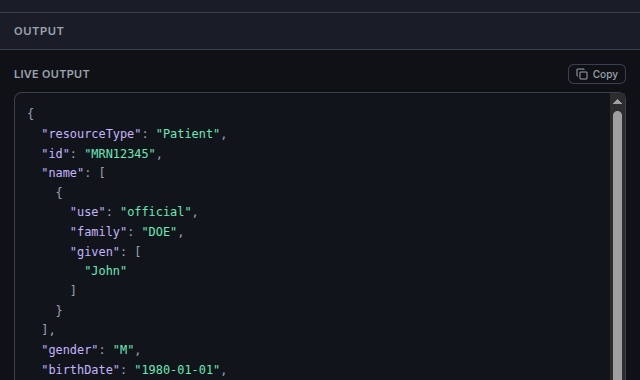
Doe; the live output shows DOE, because a filter is attached to this field mapping. The Output panel always reflects filters, conditions, and repeating-group rules exactly as they'll render in production — nothing here is a simplified preview.Faster with Auto-Map
Rather than wiring every field by hand, Auto-Map suggests connections based on field names and data types — accept the ones you want, adjust or dismiss the rest, and refine by hand in any of the three views. It's usually the fastest way to get a mapping most of the way there, especially when your source and target field names are already similar.
This same wiring mechanism — drag a source field to a target field, optionally attach a filter or a condition — is identical no matter which formats you're converting between. See the any-to-any mapping reference for worked examples across every supported source and target combination, including X12 and JSON.